Description
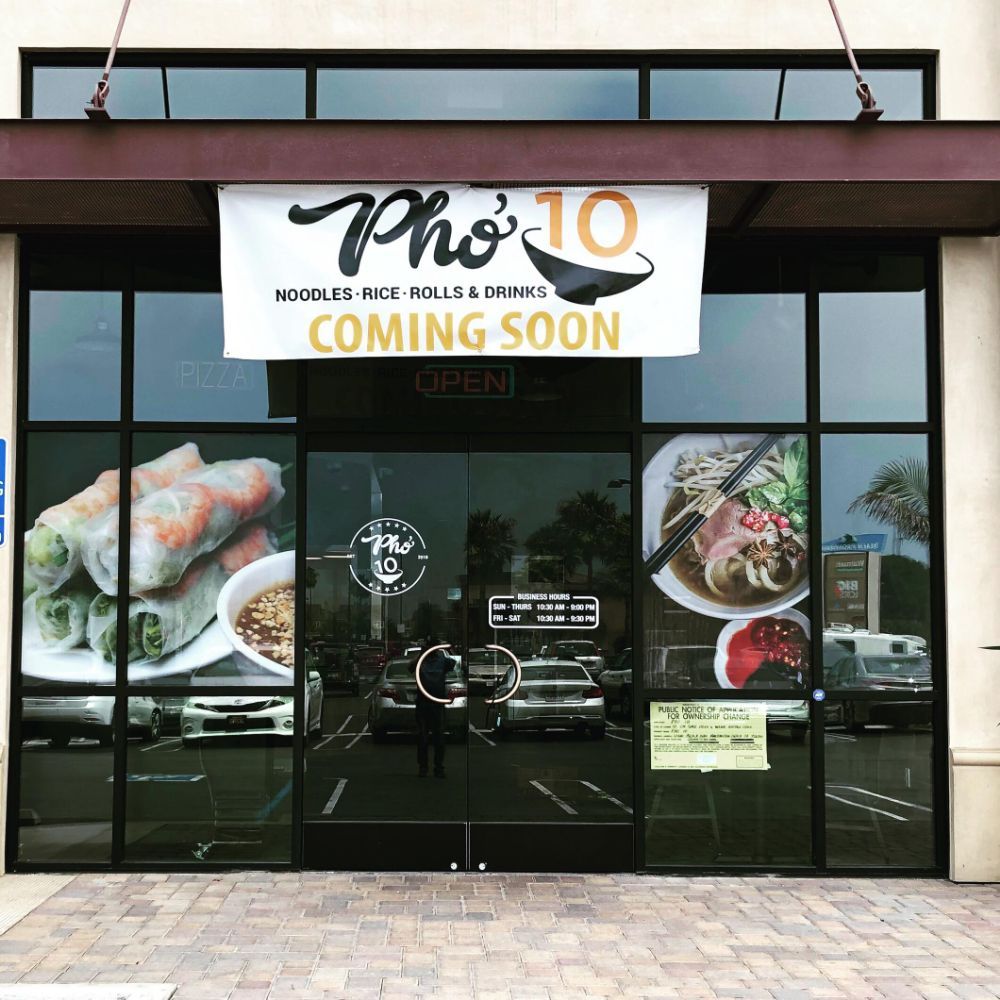
Window Perf is designed to let you put your printed message on a window visible from the outside but still be able to see out from the inside. You can use it on architectural glass or automotive glass. Your advertising doesn’t have to block your view to get the message out.
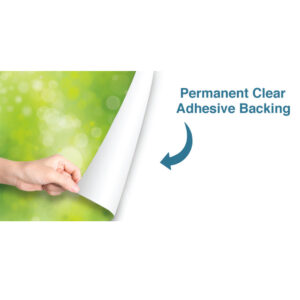
Window Perf is an adhesive-backed, perforated synthetic substrate with full color printing on one side. It is designed to let you put your printed message on a window visible from the outside but still be able to see out from the inside. You can use it on architectural glass and side or rear automotive windows. For automotive use, please check local regulations. Window Perf comes in a range of sizes from 1′ x 1′ to 150′ by 53″ (inches) and can be laminated. If using Window Perf for an automobile.
Artwork Setup
In order to ensure your files are print-ready, we recommend that you upload them in PDF format. When you generate a print-ready PDF, your computer will use the settings in Adobe Acrobat Distiller or any other PDF generating programs you may use. Please make sure that these are set properly before generating your PDF file.
If you are uploading PDF files created in Photoshop, please be sure all layers are flattened.
We also accept .JPG (JPEG), .EPS and .TIF (TIFF) file types, however PDF is the preferred format.
Check your file to make sure it meets our file creation guidelines. This will help speed up the production of your project and give your printed piece the best results.
- Use the CMYK colorspace (Cyan, Magenta, Yellow, blacK). These are industry standard printing colors. CMYK colors are different than RGB (Red, Green, Blue), which are used to display colors on your screen.
- Use a minimum resolution of 300 dpi for image files.
- Specify trim area with crop marks. (Don’t place crop marks inside the work area.)
- Artwork should have 1/8″ (0.125″) bleed extending past the trim line. This is to prevent minor cutting variations from leaving unintended results at the trim edge.
- Safe Area is the 1/8″ (0.125″) area inside the trim line. Do not put critical information or images within the Safe Area. This is to prevent minor cutting variations from leaving unintended results at the trim edge.

- If you want printed borders, they must be placed a minimum of 1/8″ (0.125″) inside the trim line and include bleed. This is to prevent minor cutting variations from leaving unintended results at the trim edge.


